This article is the first in a series in the Vortx LiveWire Blog explaining some of the built in AspDotNetStorefront shopping cart page settings that many users don’t know about. You can also find other excellent information, tips and advice about AspDotNetStoreFront and eCommerce in the LiveWire blog.
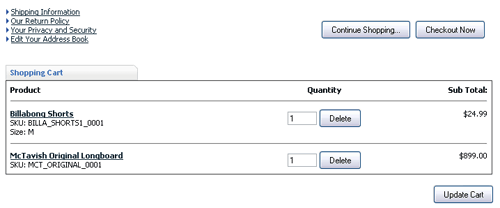
In this first installment, I’ll show you how to add product icons to your shopping cart. I notice that many people don’t use this feature of ADNSF, perhaps only because it is turned off by default.
I like to see what I’m buying all the way through the checkout process. There’s something reassuring about a picture of what you’re buying looking back at you telling you it’s all gonna be okay as you enter your credit card information and push that ‘buy’ button.
Boooring!
To add product icon images to your shopping cart:
1. Log into the admin side of your ADNSF site and find the AppConfig Page(Configuration>Advanced>AppConfig Parameters in version 8.0).
2. Type “pics” in the Config Search box on the left side of the screen.
3. After hitting the search button you should see a short list of results. You’re looking for the one called “ShowPicsInCart”.
4. Hit the edit button and set that to “true”.
5. Click the “Update” button and you should be good to go.
6. You might need to hit the “reset cache” button to get the change to take effect.
Now your shopping cart should look like this:
For more ADNSF tips and tricks and expert ecommerce advice, visit the Vortx Live Wire Blog


